Pages

Thursday, April 7, 2011

Breakfast for Cookies: A Baking Experiment

This is what I eat for breakfast almost every day.
Lowfat plain yogurt with honey and sliced raw almonds.

I haven't baked anything in [gasp] almost a week and I feel like making cookies. But there are no chocolate chips and no brown sugar in the house. Times like this call for improvisation and experimentation!

My mission is to make a cookie that tastes like my breakfast. So, preheat the oven to 350 degrees.

I'll start like most cookie recipes do. With 2 sticks of room temperature butter. Wanna know my secret for room temperature butter? The 'Keep Warm' button on my microwave. I put the two sticks still in the wrapper in there and hit Keep Warm. Every couple of minutes I stop it and turn each stick 1 quarter turn and voila! Room temperature butter in 6 minutes or less.


Put the butter in your standing mixer with paddle attachment.
If you don't have a standing mixer, you can use a hand mixer.
But you really should have a standing mixer because it's awesome.
Next comes the sugar. I'd like to use 1.5 cups of white sugar. Except I only have one cup's worth left in the bag. Since this is an experiment I'll just use what I've got. 1 cup of sugar. Turn on the mixer and cream the butter and sugar together for about 2 minutes.


Now, since I want to emulate my breakfast, I'll use honey to make up for the sugar I didn't have in the house. So, add three tablespoons of good quality honey and continue mixing on medium.
Mmm...looks creamy.
Next step for a usual cookie recipe is to add two eggs, one at a time, until well combined. I'm going to do that, but between adding the two eggs I'm also going to add 1/3 cup lowfat plain yogurt.
Add egg. Mix well.
Add 1/3 cup plain yogurt. Mix well.
Add the second egg and mix well. Yes, I know it's the same egg picture again. 

At this point I wanted to take a look at the batter. Remember, I've never made these cookies before. I'm making up this recipe as I go along. So, let's take a look...
Uh oh. I'm scared. It looks curdled and weird. What to do? 

Add 2 tablespoons of good vanilla extract, that's what! And turn the mixer up to medium high and beat for a good two minutes. 

There, that's more like it. Just needed a little beating to come back together.

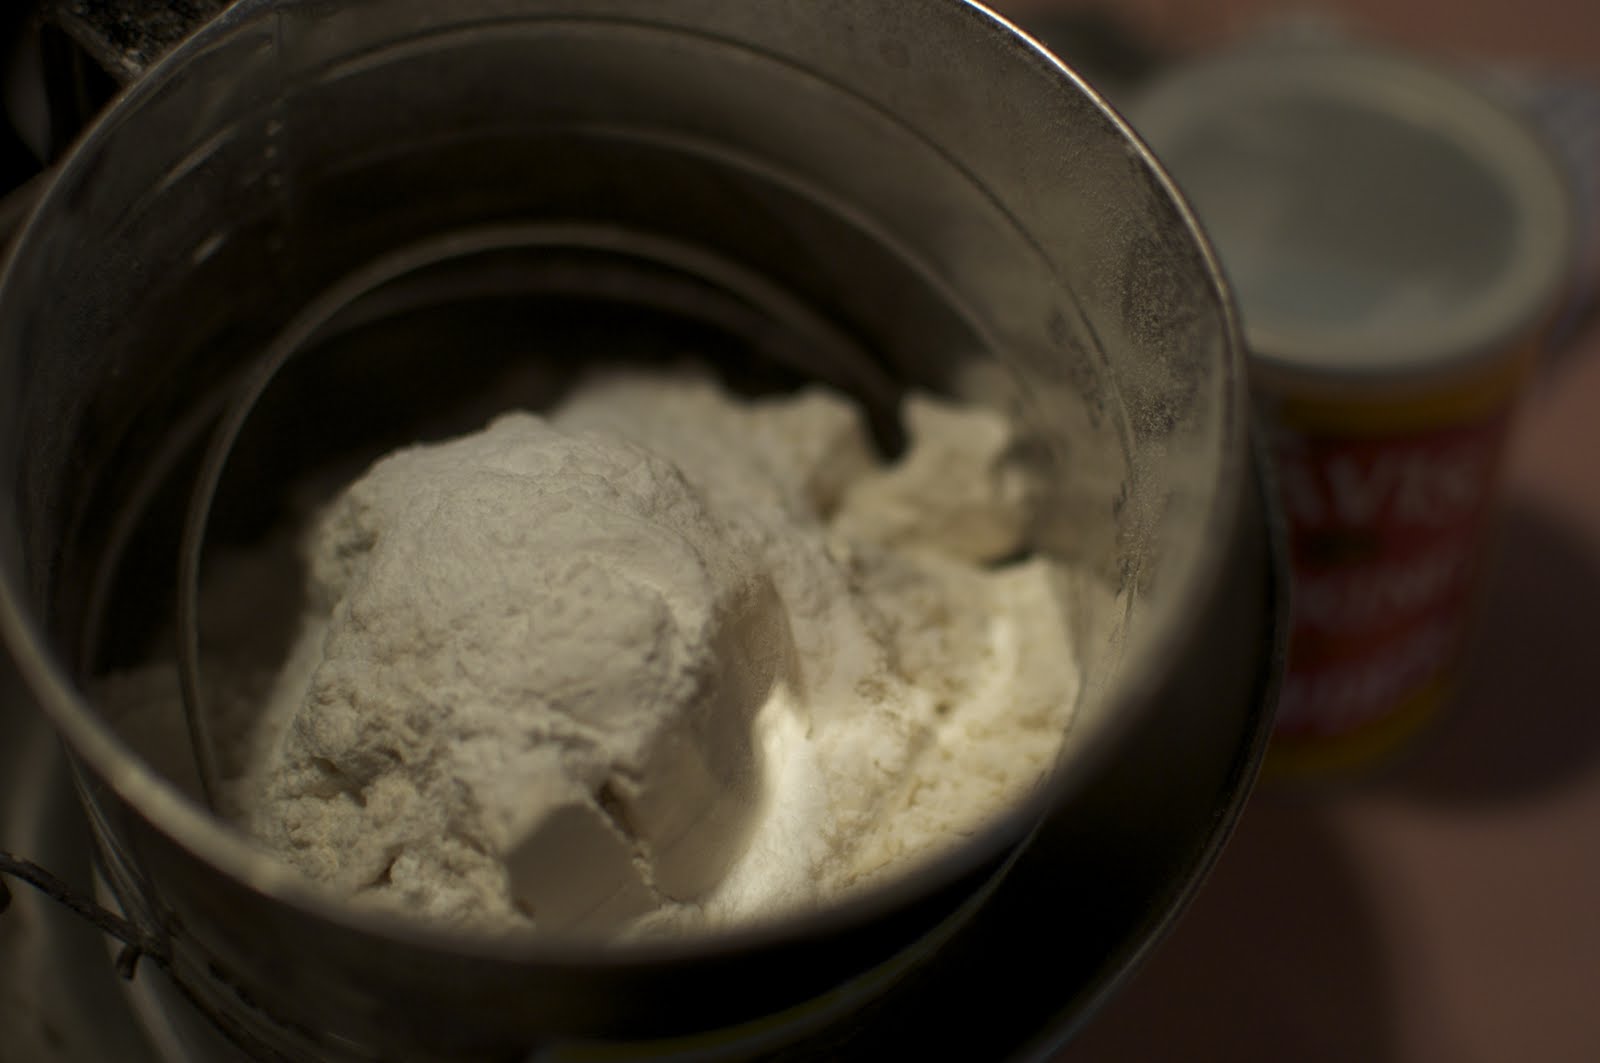
Now it's time to put together the dry ingredients. Sift together 2.5 cups AP flour, 1 teaspoon kosher salt, 1 teaspoon baking soda, and 1/2 teaspoon baking powder. 

Add the dry ingredients to the wet stuff and mix until combined. Stop and scrape the bowl, then mix again for a few seconds to make sure it's all incorporated. 
Action shot!
Add 1/2 cup raw sliced almonds.

 
Quite a pretty batter if you ask me. And tasty, too. Yeah, I tasted it. So what?

The moment of truth is almost upon us. Drop the batter by rounded teaspoonfuls onto a baking sheet. I like to use a Silpat baking mat. But you don't have to. I spaced the cookies out pretty well for the first sheet since I wasn't sure what they were going to do as they spread.


Bake at 350 degrees for about 11 minutes.
These cookies look promising!

The end result. Pale golden brown, slightly puffy and cakey. Delicate and not too sweet. And they really do taste like my breakfast! These would be great with a cuppa tea.


Sally loves them! And Tom, the closest thing in this house to a cookie connoisseur, approves as well. We'll be making these again.


To sum up, here are the ingredients and directions all in one place:

2 sticks unsalted butter at room temperature
1 cup granulated sugar
3 Tablespoons honey
2 eggs
1/3 cup lowfat plain yogurt
2 Tablespoons quality vanilla extract
2-1/2 cups all purpose flour
1 tsp Kosher salt
1 tsp baking soda
1/2 tsp baking powder
1/2 cup raw sliced almonds

Preheat oven to 350. Cream butter and sugar. Add honey and mix until creamy. Add one egg, mix to combine. Then add yogurt and mix to combine. Add second egg, mix to combine. Add vanilla, mix again well to combine until creamy.

Sift together dry ingredients. Add to butter mixture and mix to combine. Add almonds and mix well. Drop by rounded teaspoonfuls onto a baking sheet (with or without silpat). Bake for 11 minutes or until pale golden. Makes about 3 dozen cookies.


Wednesday, March 30, 2011

Favorite Spaces

I think everyone should have a few favorite spaces in their home. Even if the house is a disastrous mess, even if you don't have fancy furniture and artwork and accessories, there should be a few little corners of rooms where you can move the mess out of the way and take a photograph that looks like it came out of a design magazine. When I do the dusting and vacuuming I really appreciate these spaces in my house. You probably have spaces like this in yours. Take pictures of them. They'll make you love your home.

I bought this little stool at our community garage sale a few weeks ago. It was a wreck when I brought it home. The seat was covered with a ratty old moth eaten needlepoint tapestry. I restuffed it with polyfill and reupholstered it with the fabric leftover from the curtains I made a few years ago for the dining room. If you've never reupholstered furniture, it's easy to do and a great way to change the look of a room without spending a lot of money.


I love this spot in my living/dining room. We found this old university desk chair for fifty dollars at an antique shop in the Poconos. It's a nice place to sit in the sun and read a magazine. Sometimes it's a time-out chair for the kids, too. I made the curtains when we first moved in with fabric purchased at Fabric.com. It's the same fabric I used for the stool above. The telescope was a Christmas present for the kids, who love to look at the moon.

This is probably my favorite spot in the whole house, the eat-in-kitchen. You may recognize the wall from the masthead of this blog. A friend recently commented that my red wall with gold frames looks like the foyer from The Royal Tenenbaums. While that is one of my favorite movies, it was not a conscious choice to emulate that scene. Maybe it was subconscious. The art hanging here are pieces that I've been collecting. Some are art prints by artists I've discovered on Etsy. Some are Chinese silk paintings given to me by my mother-in-law. There are a few of original watercolors, one painted by my great-grandfather, one by Tom's distant cousin in Hungary, and one by me. I found all of the gold frames at garage sales. The only thing I dislike about this space is the ridiculous light fixture. I hate it so much I've pretty much stopped cleaning it so it's extra nasty. I've thought about spray painting it black to make it less ugly but I don't think it'd really help much. When we're able to get something new, I'd like to have a fixture that's chunky and funky with gold accents. The kind of thing that makes you groan, "Oh, that reminds me of my grandmother." I like this picture a lot because I can see two of my favorite spaces in one shot.

This is another favorite place. If I'd backed up a bit more you'd see my little stool to the right of the piano. I played piano for seven years as a kid but this isn't my childhood instrument. I gave my  piano away years ago to a coworker when my parents moved houses and couldn't take it with them. We got this piano from a family in the neighborhood who was selling their home and couldn't take it with them. Good karma. The photos of the kids were taken by yours truly and the pear painting upper left was a kindergarten artwork by our son Robert. Since this piano has been in our home I've relearned to read music and I'm slowly getting back into playing. The songbook on the ledge there is Coldplay's A Rush of Blood to the Head. It's one of my favorite albums and many of the songs are well suited for piano.

This plate was given to me by my mom. I thought it was sort of kitchy and cute and for a while it was hanging around the kitchen trying to find a permanent home. Last year the plate that normally hung in this spot fell off the wall and broke, so I popped this mother hen in its place. It's slightly out of place in the family room because on every other wall is Tom's sports memorabilia stuff. I think this plate is a nice reminder for everyone that it's really me who rules the roost. (Just kidding, darling husband.) Best part about this plate is that it's plastic!

This plant stand was given to me by my wonderful mother-in-law. It came from the Astoria, Queens home of my wonderful late grandmother-in-law. Before the home was sold about seven years ago, I spent a lot of time there with Tom's mom and grandma to get it ready for sale and rehome a lot of the furnishings. On my last day in the house before it was sold, we were about to walk out the front door for the last time and I noticed this plant stand hiding in the corner of a downstairs room. As soon as I saw it I felt like I'd discovered something very special. It has a marble top and the metal is covered with a pale green patina. The plant grew from a cutting of a jade plant that was given to me by my friend Liz. The original plant was near death because I'd sort of been neglecting it. I cut a piece and stuck it in this pot and it grew like crazy. I love the way it sort of cascades over the sides of the pot.


What are your favorite spaces in your home? Tell me about them in the comments!


Monday, March 28, 2011

Roasted Sweet Potato Thingers

We belong to a local organic vegetable co-op so we always have a lot of fresh organic veggies in the house. This means I'm often figuring out ways to use up all this food before it goes bad. We love vegetables here but sometimes there's just more than we need. Tonight we're having smoked chicken with a brown sugar and spice rub for dinner and I happen to have these two ridiculously huge sweet potatoes.


I think sometimes people avoid cooking potatoes because they think they take a long time to cook. But when you cut them in skinny french fry-like fingers (or THingers, as my two youngest call them), toss them with oil and seasonings, and roast them in the oven, they're ready to eat in about 25 minutes. Oh c'mon, that's not long at all.

Cut the potatoes in slices and then in sticks about the thickness of a finger (thinger). These sweets are particularly huge so I cut them in half before slicing.
I had about 5 cups of fingers here. YMMV (Your Mileage May Vary)

Once they're all sliced up, put them in a bowl.


Here's where the magic happens. Since it's still too cold for fresh herbs from the garden, and because we're not able to spend extra for fresh herbs from the supermarket, I rely a lot on whatever I have on hand in the pantry. In this case I went for

onion powder
chili powder
ground thyme
celery salt
Cumin (not pictured. But I love the flavor of cumin with sweet potatoes)
olive oil


Whisk together 1/2 cup of olive oil with about half a teaspoon each of those seasonings. Pour it over the potatoes and toss them to coat.

Just use enough of the oil mixture to coat your potatoes. If you have extra leftover, whisk it with some vinegar or lemon juice and voila! You have salad dressing.
Incidentally, if we were making an Asian-inspired chicken, say Teriyaki, I would have chosen a more  Eastern flavor palette for these taters. It could have just as easily been

wasabi powder
ground ginger
garlic
orange zest
Tamari
sesame oil


Next put the potatoes on a baking sheet and spread them out so they're not on top of each other. Sprinkle Kosher salt and fresh ground pepper on them. I also gave a quick sprinkle of parmesan cheese because that's how I roll.


Bake at 350 degrees (use the convection setting if you have one) until they're tender but not mushy. It should take about 20 minutes if you have them spread out well. As they're baking, you can get in there with a spatula and flip them around a bit to cook them evenly, but make sure you shake the pan to spread them out again. Don't be afraid to spear the biggest one on the pan and test to see if it's done. Then for the last 5 to 8 minutes, increase the temperature to 400 to really get them crispy. The end result will be a sweet potato fry with a tender inside and crispy outside. These are a yummy kid pleaser!

Sunday, March 27, 2011

What we're smoking...

It's not what you think.

Last night while I was creating this blog, Tom (the hubby) was busy preparing a whole chicken for smoking. We've done this before with a turkey and had good results. First step is to brine the bird, which involves a long soak in a salt/sugar solution for 10 hours. What is brining? Put simply, it's a process by which salt and sugar react with the meat to tenderize it and keep moisture in. The end result is a far more tender turkey/chicken/pork chop/whatever. We do it for our Thanksgiving turkey, and so should you. It really does make a difference. The brine we made last night consisted of

1 gallon water
1 cup salt
1.5 cups sugar
1 bottle of dark beer (we used 2005 Sierra Nevada Bigfoot Ale)

To prepare the brine, put a big pot on the stove and pour in the water, followed by the salt, sugar and beer. Heat the solution to boiling or until the salt and sugar is dissolved. Then cool it down to room temperature. (If you have a huge bird you should double or triple the brine recipe.) You can also experiment with the brine mix--add some wine, throw in herbs, put in some spices if you like, or citrus peels. These add-ins will add very subtle flavor to your chicken. Just don't add anything that contains additional salt or sugar or else you'll throw off the proportions. Tom didn't want anything fancy for this brine, so the above recipe is what we used.

I should note that although we are going to smoke this chicken, brining is a wise prep choice for other cooking methods as well. If we were roasting this bird we would have done the same thing.

Put your bird in a pot and add your cooled brine. The brine should cover the bird completely. If it doesn't, try a smaller pot. If it starts floating, you can weigh it down with a brick in a plastic bag or a huge unopened can of tomato sauce or similar. Once your bird is submerged, put the pot in the refrigerator. Or, if it's about refrigerator temperature outside, you can put it out on your back deck overnight, like we did. The rock is essential to keep out hungry critters such as cats and rabid foxes.

Chicken themed doormat is a total coincidence, I swear.


Leave your bird soaking in the brine for 10 hours, but not longer than that. After ten hours drain and discard the brine, rinse the bird really well in clean water, and let it dry for a few minutes. Use paper towels if necessary.

While rinsing and wrestling this dead naked bird in my kitchen sink, I had fond memories of bathing my kids in there. Is that wrong?

Next step is to make the rub. Here you can see the ingredients I used for ours. You can really use any spices and herbs that taste good together. And you don't really need to measure, either. Just use more of the flavors you like and want to come through more than others.

Incidentally these are all the same ingredients I use to flavor my homemade chili. Only thing missing is a Hershey bar. Seriously!
 The approximate proportions for the rub ingredients is as follows

2 cups brown sugar (light or dark, whatever you've got)
1 tablespoon Kosher salt (no more than that, your brine had lots of salt in it)
2 teaspoons black pepper 
2 tablespoons chili powder
2 tablespoons onion powder
1 teaspoon ground cumin
2 tablespoons chili powder
1/4 teaspon cayenne pepper
2 teaspoons celery salt
1 teaspoon ground thyme (not pictured) 

 Mix all the ingredients really well.


Here I turned it over to Tom, who says it's most important to get lots of the rub under the skin and really try to distribute it as well as you can. The meat will hold more of the flavor this way.


And then rub rub all over the outside of the bird. Heh, rub rub, that looks funny.


There there, Chicken. Daddy's here.

Remember to support the head when you pick him up. Oh, wait...never mind.

All baby-in-the-sink references will now cease.

Now, on to the smoker. Being laid off from work has afforded Tom with ample time to pursue his hobbies, one of which is eating. So, he joined the local Barbecue Club. I suspect that only here in our lovingly cult-ish lake community does such a club exist, but if your town has a barbecue club I want to hear from you. Tom was immediately inspired by one guy's DIY smoker, which was made from a filing cabinet just like this one

Tax records or ribs?
The whole thing was painted with black insulating paint and the cabinet is rigged for ventilation at the top and a wood-burning firebox at the bottom. Each drawer was assigned a different type of meat, and each one was labeled--Ribs, Chicken, Brisket, etc. I thought that was hilarious. Until I saw the smoker Tom built...


Wait for it...


Tom said he didn't want to be in any of these photos. Maybe it's the sweatpants?
Tom locked himself in the garage for a week building his smoker. It started with a galvanized aluminum garbage can and the legs from a dismantled buffet table. It looked wonderfully bizarre. After a few modifications and a few coats of insulated paint, I thought it looked totally steampunk. Not to mention, it was very cold in November and Tom always wears eye protection so on more than one occasion when I entered the garage to check Tom's progress, I found him looking not unlike this guy. I commended Tom on his creativity and artistry. And then he revealed that he'd never heard the word steampunk in his life so now I don't know what to think. In any case we smoked our free supermarket turkey in the thing and it turned out great.

Tom insists I mention the original buffet table legs have been replaced with a kettle style charcoal grill.

Guidelines for smoking poultry are to cook at 265 degrees for one hour per pound. For our tricky DIY smoker, this means we may not eat dinner until 10pm.

Well, it's 9pm and we just finished dinner. Good news is, it came out fantastic. Check it out:


This is the George Hamilton of chickens.


 This smoked chicken came out so juicy and flavorful, we decided it didn't even need a gravy. I served it with simple sides of oven roasted sweet potato fries and steamed broccoli with brown butter lemon sauce. Recipes for those coming tomorrow!